
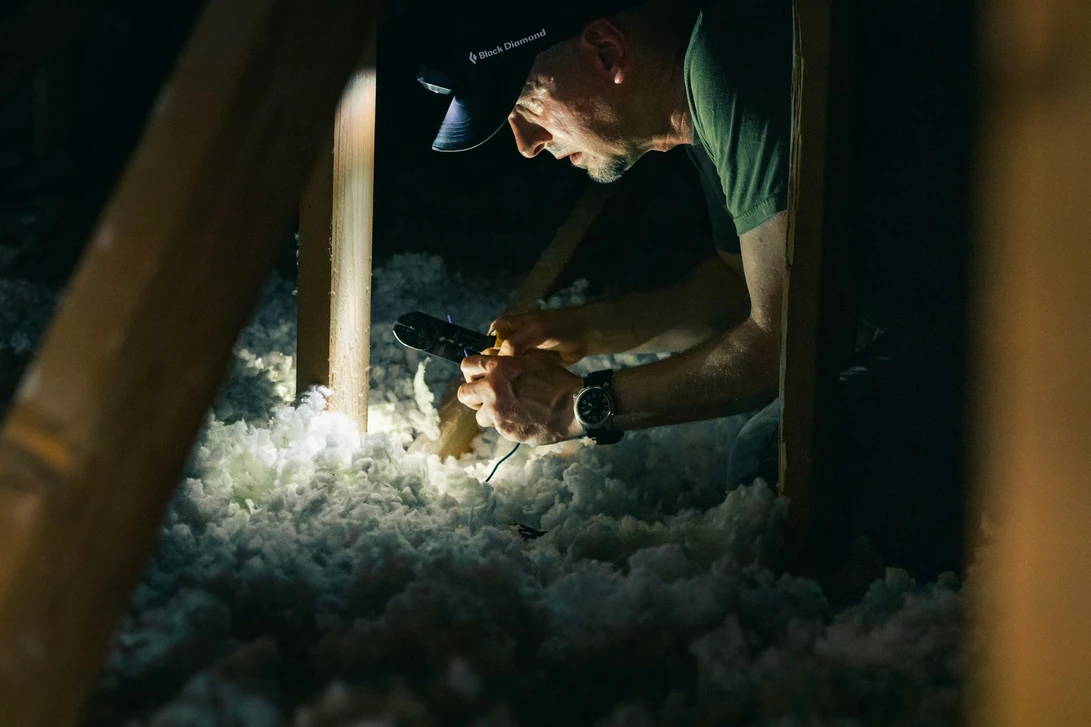
The last bag of old insulation is tied off in the driveway and the attic floor is bare for the first time in thirty years. The new insulation is booked for tomorrow. What happens in between is attic decontamination, and it's the stage most crews rush.
It's also the stage the homeowner's nose will judge. Attic decontamination means cleaning up what the removal vacuum missed, disinfecting the exposed framing and deck, dealing with odor where it actually lives, and checking the attic properly before anything gets covered again. Do it well and the new insulation goes into a clean, dry, odor-free space. Skip it and you've buried the problem under fresh fluff.
What the removal vacuum leaves behind
Bulk removal into insulation vacuum bags takes out the material itself (our complete guide to insulation removal covers that part of the job). It doesn't leave a clean attic. Once the floor is exposed, expect to find:
- Droppings wedged into joist-bay corners and along the top plates
- Nesting material wedged into the eaves where the hose couldn't reach
- Urine staining on the deck, the joists and the paper backing of the ceiling drywall
- A fine film of fiber and dust over every horizontal surface
- Now and then, a carcass the insulation had been hiding
The removal vacuum and bags are bulk handling tools. They aren't HEPA rated and they aren't the cleaning stage. Everything from here on uses different equipment and a different mindset.
Pick up, then clean, then disinfect
Disinfectant sprayed over dirt mostly disinfects dirt, so the order matters.
- Wet and pick up what's left. The CDC's guidance is clear that you shouldn't sweep or vacuum rodent droppings, urine or nests dry, because that puts contaminated particles in the air. Its rodent cleanup instructions call for soaking them with disinfectant, or 1 part bleach to 9 parts water, for 5 minutes or as the product label directs, then picking them up and bagging them.
- HEPA vacuum the fine dust. Once the droppings and nesting are gone, a HEPA-filtered vacuum takes the fiber and dust film off framing, the deck and the tops of the drywall. An ordinary wet/dry vacuum will blow the finest particles straight back into the attic.
- Clean the stained surfaces. Wipe or scrub the visibly soiled areas so the disinfectant reaches the surface, not a crust sitting on top of it.
- Disinfect. Work in sections and finish at the hatch, so you never kneel on framing you've already treated.
Read the disinfectant label like a spec sheet
Wildlife and restoration crews generally use EPA-registered disinfectants, and the label is the document that tells you how to use one. Read these parts of it before the attic, not during:
- Surfaces. Many disinfectant labels only claim results on hard, nonporous surfaces. Raw framing and roof decking are porous, so check that the product you're using covers what you're actually treating.
- Dilution. Concentrates mixed by eye in a hot attic are rarely at the right strength. Measure.
- Application method. If the label doesn't list fogging or misting, don't fog it.
- Contact time. This is the one most often ignored. The CDC's contact time guidance explains that the surface has to stay visibly wet with disinfectant for the full time on the label, and if it dries early, you reapply. In a summer attic a light mist can dry in a fraction of the listed time, so apply generously and recheck the first sections before moving on.
- PPE and re-entry. The label lists the protection the applicator needs and how long before others can go back in.
- Mixing. Never combine products unless the label says you can.
Write the product, dilution and contact time into the job notes. If anyone ever asks what was done in that attic, you'll have an answer.
Odor lives in the wood, not the air
Disinfecting and deodorizing are different jobs. A surface can be sanitized and still smell, because urine soaks into wood and drywall paper and keeps releasing odor as the attic heats up.
The fix is at the source. Enzyme cleaners are made to break down the organic residue behind the smell, and they need time and moisture on the surface to work, so follow their label just as carefully as the disinfectant's. Once the wood has dried, many crews coat badly stained areas with an odor-blocking sealer or encapsulant so whatever remains is locked in.
Foggers and odor neutralizers have a place as a finishing step, but only after the source is gone. If an attic still smells after cleaning, don't reach for more product. Go looking for what you missed: a soiled section of eave, urine-soaked drywall around a light fixture, or a dead animal in a soffit or wall cavity.
Verify before anything gets covered
New insulation turns any mistake into a buried mistake, so build a short sign-off into every job:
- Look. Walk the whole attic with strong light, including the eaves and around every penetration. Compare it against your pre-job photos.
- Measure moisture. Check the treated framing and deck with a moisture meter. Wet wood under new insulation is the start of a mold call.
- Smell it closed up. Shut the attic for a few hours or overnight, then open the hatch. A clean attic smells of wood and dust.
- Confirm no activity. No fresh droppings, no new gnawing and every exclusion point still intact.
- Photograph and record. Before and after shots of the same spots, plus your product notes, go into the job file and to the homeowner.
Only when all five check out should the reinsulation crew start.
A fresh suit for the cleanest stage of the job
The coverall you wore for removal is coated in exactly the dust you're trying to get rid of. Put on a fresh one before decontamination so you're not shedding the old attic onto newly cleaned framing. Our Microvek microporous coveralls have an anti-static coating on both sides and act as a barrier against light liquid splash and hazardous dusts, which suits disinfectant work. Pair them with the respirator, gloves and eye protection your label and your respiratory program call for (we don't sell those).
Stock the truck before decontamination day
Contaminated attics fill bags faster and heavier than clean ones, so at RAM we steer wildlife crews toward the PRO-450 Super Duty bag, our highest-filtration bag, for the removal stage and Microvek suits for everything after. Shipping is free and same-day, and you can call 404-354-6268 day or night to work out quantities for a particular attic.
Frequently Asked Questions
How long should disinfectant sit on attic surfaces?
As long as the product label says, and the surface must stay wet for that whole time. Contact times vary a lot between products, so there's no single number for attic work. In a hot attic, plan on reapplying to keep surfaces wet.
Is bleach a good choice for attic decontamination?
The CDC lists fresh bleach diluted 1 to 9 with water for soaking rodent droppings and nests before pickup, and that use is well established. For sanitizing the whole attic, many crews prefer a registered disinfectant whose label covers the surfaces involved, because it gives a documented dilution and contact time for the job file.
Do you still need to decontaminate if all the insulation came out?
Yes. Removing the insulation takes away the bulk of the contamination, but droppings, urine staining and dust remain on the framing, the deck and the drywall backs. Those surfaces are what the new insulation will sit against.
Can new insulation go in the same day as decontamination?
Only if the treated surfaces are dry and the disinfectant label's re-entry time has passed. On many jobs that means reinsulating the next day, which also gives you the overnight smell check.
Will attic decontamination get rid of a dead animal smell?
Not if the animal is still there. Disinfectant and odor treatments can't overcome a carcass, so the source has to be found and removed first. Once it's gone, cleaning and treating the stained area underneath usually clears the smell.